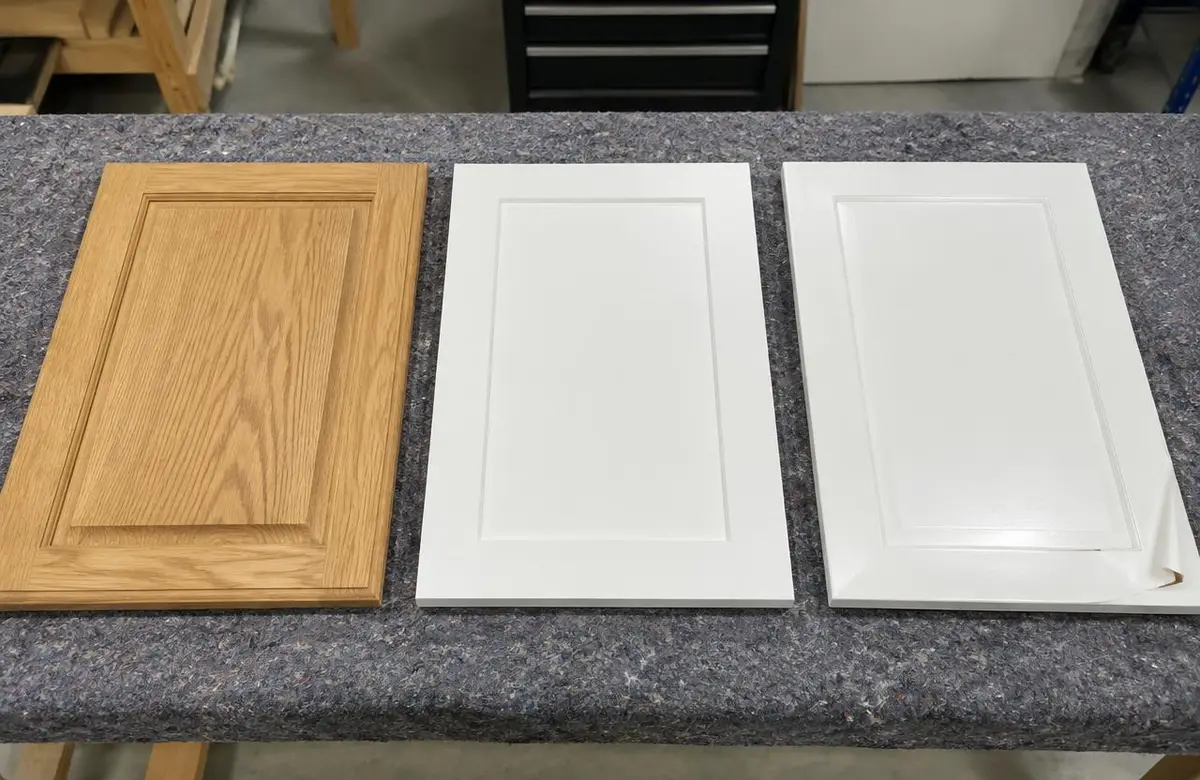
Cabinets
How Long Do Painted Kitchen Cabinets Last? Spray vs Brush and Why Prep Matters
By Franklin SamuelPublished Last updated 5 min read
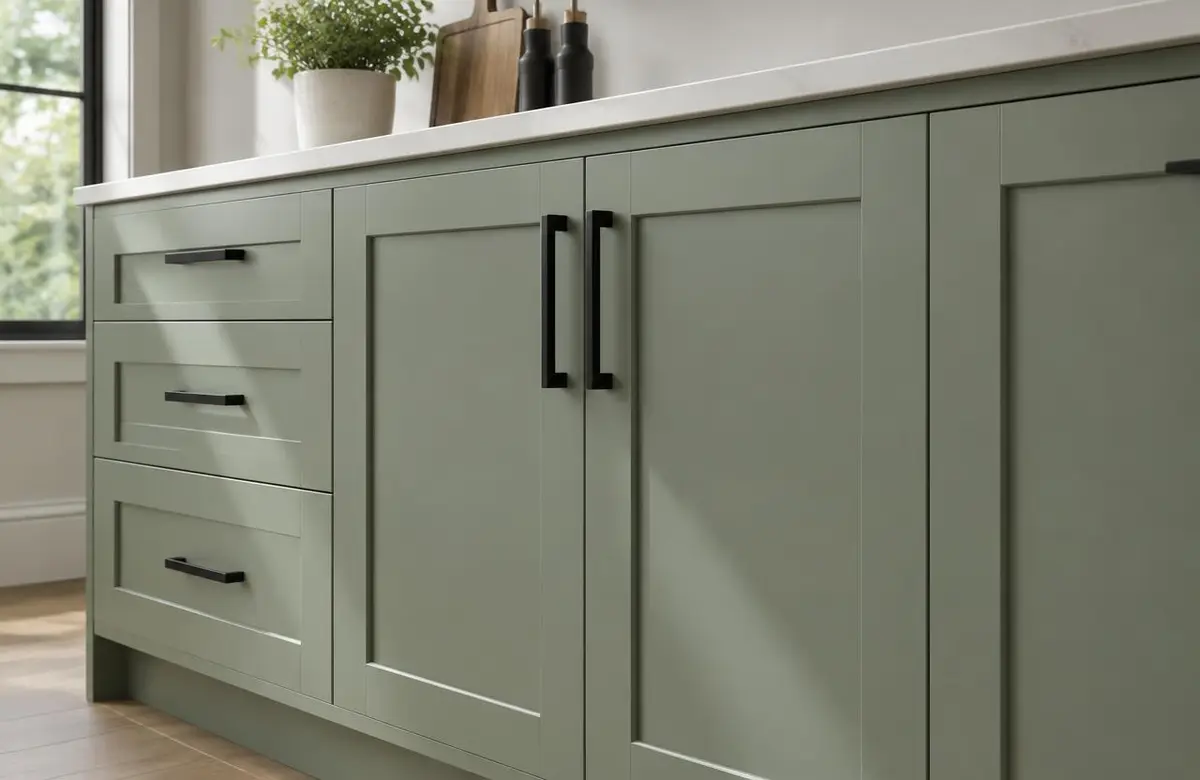
A kitchen cabinet finish has a busy job. Hands grab the same edges every day. Cooking leaves grease around the stove, and damp cloths pass over the sink doors. When someone asks how long painted cabinets last, I start with those conditions and the cabinet surface. A calendar alone tells us very little about how the coating will hold up.
I look at cleaning, adhesion, the paint system and how the doors are used after painting. Spray equipment can give a lovely finish, but it cannot make paint stick to grease. My cabinet painting service starts with checking what is already there, including worn edges, loose coatings and any damage that needs attention before colour goes on.
What actually makes cabinet paint last?
A sound door gives us a better starting point than a door with swollen corners or a failing factory finish. Paint needs a firm surface underneath it. If an old coating lifts away from the cabinet, the new coating comes away with it. That is why I check existing finishes and discuss repairs before setting out the painting steps.
Daily habits matter too. Pulling a door by its handle puts less wear on the painted edge than grabbing the corner. Wiping up water around the sink keeps it from sitting against joints. Neither habit needs much effort, but both address the places where I expect a kitchen finish to get the hardest use.
Why does degreasing come before sanding?
Kitchen grease is not always visible. It can collect near handles, along the tops of doors and beside the range. Sanding a greasy surface can spread that residue around and push it into scratches. I clean first with a cleaner that fits the surface and coating instructions, then remove residue as directed and let everything dry.
Cleaning may take more than one pass around cooking areas. Silicone polish and some household sprays can also leave contamination that causes paint to pull back or adhere poorly. Tell me what has been used on the cabinets, even if it was just a quick shine before company came over. That information helps me choose the next step.
What do scuffing and bonding primer do?
Scuffing dulls a slick finish and gives the coating system a prepared surface to grip. It is controlled sanding, not an attempt to grind every door back to bare wood. Profiles and edges need care because aggressive sanding can change their shape or cut through thin surface layers. Dust then needs to come off before primer goes on.
A bonding primer helps connect the prepared cabinet surface to the finish coats. The choice depends on the existing material and the enamel going over it. Some cabinets also need stain-blocking work. I follow the coating instructions for application and recoat times, and check adhesion where the existing finish leaves questions. Primer cannot rescue loose material underneath it.
Which enamel belongs on kitchen cabinets?
I choose an enamel intended for cabinets or similar hard-use woodwork, with the primer and application method in mind. Wall paint is not my default for doors that are handled and wiped every day. The system needs to work together, including the cleaner, prepared surface, primer and finish. Picking a sheen is only one part of that decision.
Colour and sheen also change how wear looks. A glossy surface can show marks and reflections clearly. A lower sheen can soften the look, but it still needs to be a cabinet coating that can handle cleaning. I discuss samples in your kitchen light so you can judge the finish beside counters, flooring and the other fixed colours.
Is a sprayed finish better than brush-and-roll?
Spraying can produce an even finish with less visible application texture. It works well when doors can be supported, coated and dried in a controlled area. It also calls for careful masking and control of overspray. Sprayed cabinet boxes need a thought-out work area, with nearby surfaces protected and the kitchen kept out of normal use during that work.
Brush-and-roll leaves a different surface texture. A careful application with tools matched to the enamel can look tidy, especially on cabinet boxes or details where spraying is less practical. Neither method skips cleaning, sanding or primer. I explain the expected appearance before starting so a homeowner is not expecting a factory-flat sprayed look from a brushed sample.
The useful comparison is the whole process, not just the tool. Ask how doors are labelled, how edges are coated and where pieces dry between coats. If the boxes or doors have bigger problems, my guide to cabinet painting versus refacing can help you decide whether keeping the existing surfaces makes sense.
What is the difference between dry and cured?
Dry paint may feel ready when touched lightly, while the coating is still developing its hardness. That later process is curing. Recoat time, handling time and full cure are separate instructions, and they vary with the product and room conditions. A surface that feels dry is not ready for hard scrubbing or having things pressed against it.
For the first weeks, use the kitchen gently and follow the enamel's care instructions. Avoid banging doors, dragging fingernails over edges or leaving wet cloths hanging against the finish. Do not add adhesive hooks or protective pads before the coating instructions allow it. Keep normal room conditions and ventilation steady instead of trying to rush the finish with concentrated heat.
How should you care for the finish and handle touch-ups?
Start with a soft cloth and the cleaning method recommended for the cured coating. Skip abrasive pads and harsh cleaners that can dull or damage the surface. Grease is easier to remove before it builds into a stubborn patch. If a hinge is loose or a door rubs against another door, fix the adjustment so the paint is not taking repeated contact.
- Keep labelled leftover paint with the colour, product and sheen recorded.
- Store a small brush for careful chips and edge touch-ups.
- Keep the paint where its storage instructions allow, away from freezing.
- Clean and dry a damaged spot before deciding how to repair it.
A small touch-up can show differently from the surrounding finish, especially on a smooth sprayed door. Sometimes recoating a larger section gives a more even result. For painting your existing kitchen cabinets, I would rather explain that upkeep now than leave you guessing after the kitchen is back in use.
If you want to talk through your cabinets, call or text 403-861-1963 or request a free estimate. I can look at the finish, explain the preparation and help you plan around using your kitchen.