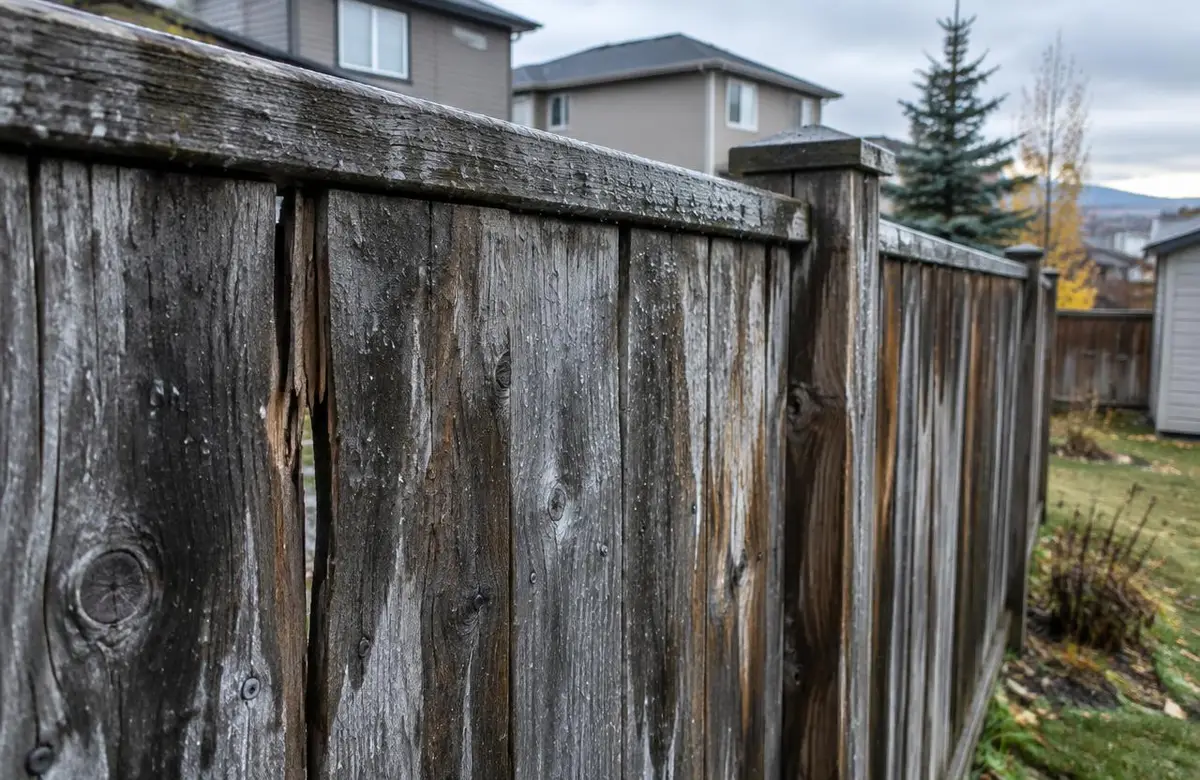
A fence does not weather evenly from one end of the yard to the other. In Calgary, a sunny section can lose colour while a shaded corner stays damp behind shrubs. I look at the whole fence before deciding whether it needs another coat of stain. Sometimes cleaning is the first job. Sometimes damaged boards need replacement before a coating makes sense. Fresh colour should follow that assessment, not cover it up.
You do not need to wait until every board looks bare. A walk along both faces can show where protection is wearing and where water is collecting. Take note of the areas beside sprinklers, snow piles and dense planting. When I assess fence staining in Calgary, those local conditions help explain why one section has aged differently from the rest. These are the seven signs I check first.
1. Is the wood turning grey?
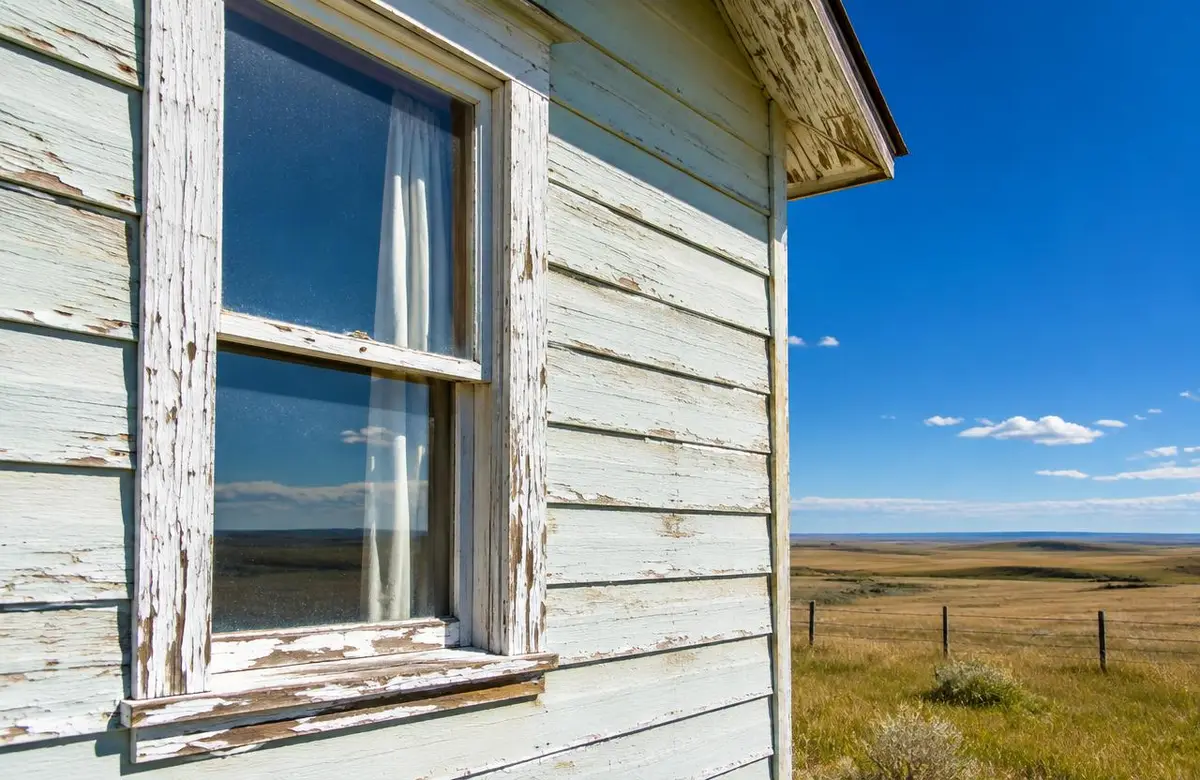
Greying commonly appears as sunlight and weather break down exposed wood fibres. It can start along the top of boards and spread across the face as the old finish wears away. That is a useful maintenance signal, but grey wood is not automatically rotten wood. I check whether the boards are firm, whether fibres are loose and how much of the previous finish remains before recommending preparation.
Staining directly over weathered grey fibres can give poor adhesion or an uneven appearance. Suitable cleaning and, where required, brightening help prepare the surface; sanding may be needed for rough areas. The goal is sound wood that can accept the chosen stain. A darker colour can hide some variation, but it is not a replacement for removing weak surface material. If you prefer visible grain, preparation becomes especially important.
2. Has water stopped beading on the boards?
If rain used to bead and now quickly darkens the wood, the surface may be absorbing more moisture. That can indicate worn protection, particularly where the change is consistent across exposed areas. It is a clue rather than a complete diagnosis. Some stain systems do not bead strongly even when serviceable, and dirt or previous treatments can change how a small water test behaves.
I compare the water response with colour loss, roughness and the condition of the remaining coating. Testing a clean, dry area is more useful than splashing water on a fence that is already damp. If the old finish still repels water strongly, applying more stain may leave excess material at the surface. Recoating should follow the product's maintenance guidance, not a water-beading rule taken in isolation.
3. Are splitting and checking becoming more noticeable?
Small checks can develop as wood expands and contracts with moisture changes. They often stand out more on weathered boards. Stain can help manage surface exposure, but it does not glue a split back together or restore the strength of a damaged rail. I distinguish ordinary surface checking from boards that are loose, deeply split or unsafe. Posts and connections need attention too, not just the flat faces.
Look at board ends and areas around fasteners without forcing the wood apart. Soft material, unstable posts or large failures call for repair before staining. Replacement boards may take colour differently from older wood, so discuss that expectation before choosing a transparent finish. A fence can be properly prepared and still show its repairs. The aim is a sound, protected fence, not the false promise that every board will become identical.
4. Is there mildew or green growth?
Green growth often appears where shade, vegetation and dampness keep the surface wet. Mildew and other surface contamination need appropriate cleaning before staining. Applying stain over growth can leave discolouration and interfere with adhesion. I also check what is feeding the damp conditions: a sprinkler aimed at the fence, soil against the boards or shrubs that leave little space for air movement.
Cleaning needs to suit the wood and surrounding property. Protect nearby planting, follow the cleaner's instructions and rinse as required. Mixing cleaning chemicals is not a shortcut. Heavy pressure can damage fibres without solving the moisture source. After cleaning, the fence still needs time to dry before staining. If growth keeps returning in one corner, adjusting drainage or planting clearance belongs in the maintenance plan alongside the new finish.
5. Has the colour become uneven or blotchy?
Colour can fade faster on sunny sections while sheltered boards retain their original shade. Uneven absorption from previous application can also show as dark overlaps and pale patches. Before adding another coat, I work out whether the difference comes from weathering, contamination or old finish buildup. Those causes call for different preparation, and a quick coat over the entire fence can make some patches more obvious.
A test area helps show how cleaned wood will accept the proposed stain. Transparent and semi-transparent finishes leave underlying differences visible, while solid stain hides more colour variation but changes the appearance and maintenance approach. I discuss the trade-off rather than choosing opacity only to cover a problem. Where an old coating is peeling, the loose material needs removal regardless of how dark or opaque the new colour will be.
6. Are there bare spots after winter?
The lower boards and areas beside snow piles often deserve a close look in spring. Bare patches can mark worn finish, prolonged wetting or physical abrasion. Shovels, pets and stored objects can also scrape the surface. I compare those spots with the surrounding coating to see whether the damage is local or part of wider failure. Peeling edges suggest a different preparation job from gentle fading across sound wood.
Check gates and horizontal rails as well as the broad fence panels. Water can linger on ledges and at joints even when vertical faces dry quickly. Repair loose hardware and remove debris that holds moisture before staining. Spot maintenance may suit some finishes, but it can leave visible colour differences. When broader refinishing is needed, preparing a complete section between natural breaks usually gives a more consistent result than scattered patches.
7. Does your neighbour's side look different from yours?
One face can look tired while the other still appears well protected. Sun, sprinklers and landscaping explain some differences, and the two faces may also have received different products. Talk to your neighbour before planning work on a shared fence. Confirm ownership, access and the areas you can coat rather than assuming that permission to stain your side includes entering the next yard or changing the other face.
Discuss colour and timing where stain might show through gaps or reach shared posts. Masking and careful application matter, especially around neighbouring furniture, plants and paving. If different products have been used on opposite faces, I assess each surface separately. A shared project can be practical, but it still needs clear boundaries and an agreed scope. Good communication is part of preparation, not something to sort out after the stain is open.
When should you stain a fence in Calgary?
Plan for dry wood and suitable conditions throughout application and drying, not simply the first warm day. Spring snowmelt, summer storms and autumn dew can all affect readiness. My guide to the best time for exterior painting in Calgary explains the seasonal considerations. A sheltered fence may stay damp after the rest of the yard looks dry, so the surface still needs checking.
- Walk both faces where access is permitted and note worn or damp sections.
- Arrange board repairs and discuss shared-fence access before coating work.
- Clean appropriately and let the wood reach the stain's required moisture condition.
- Keep sprinklers off the fence and allow the specified drying period before normal use nearby.
For help deciding what your fence needs, see our deck and fence staining service. Call or text 403-861-1963 or request a free estimate, and I will review the condition and preparation with you.